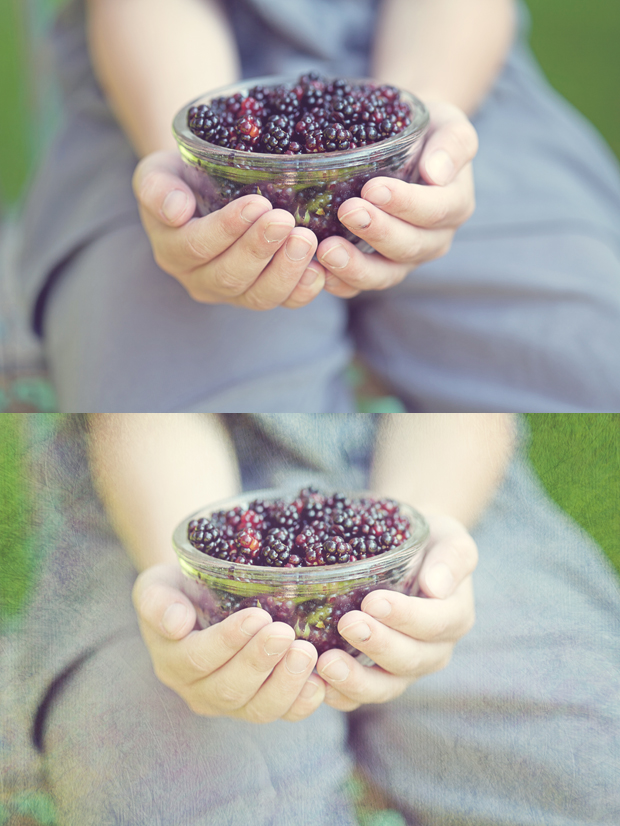
I have to admit I love gradients in PS (or PSE). I think it’s one of the neglected tools in your panel. With gradients you can easily add fill light, contrast, haze, vignette, etc. It’s easy to use, but you have to select the right gradient and the right blending modes to get the most out of them.
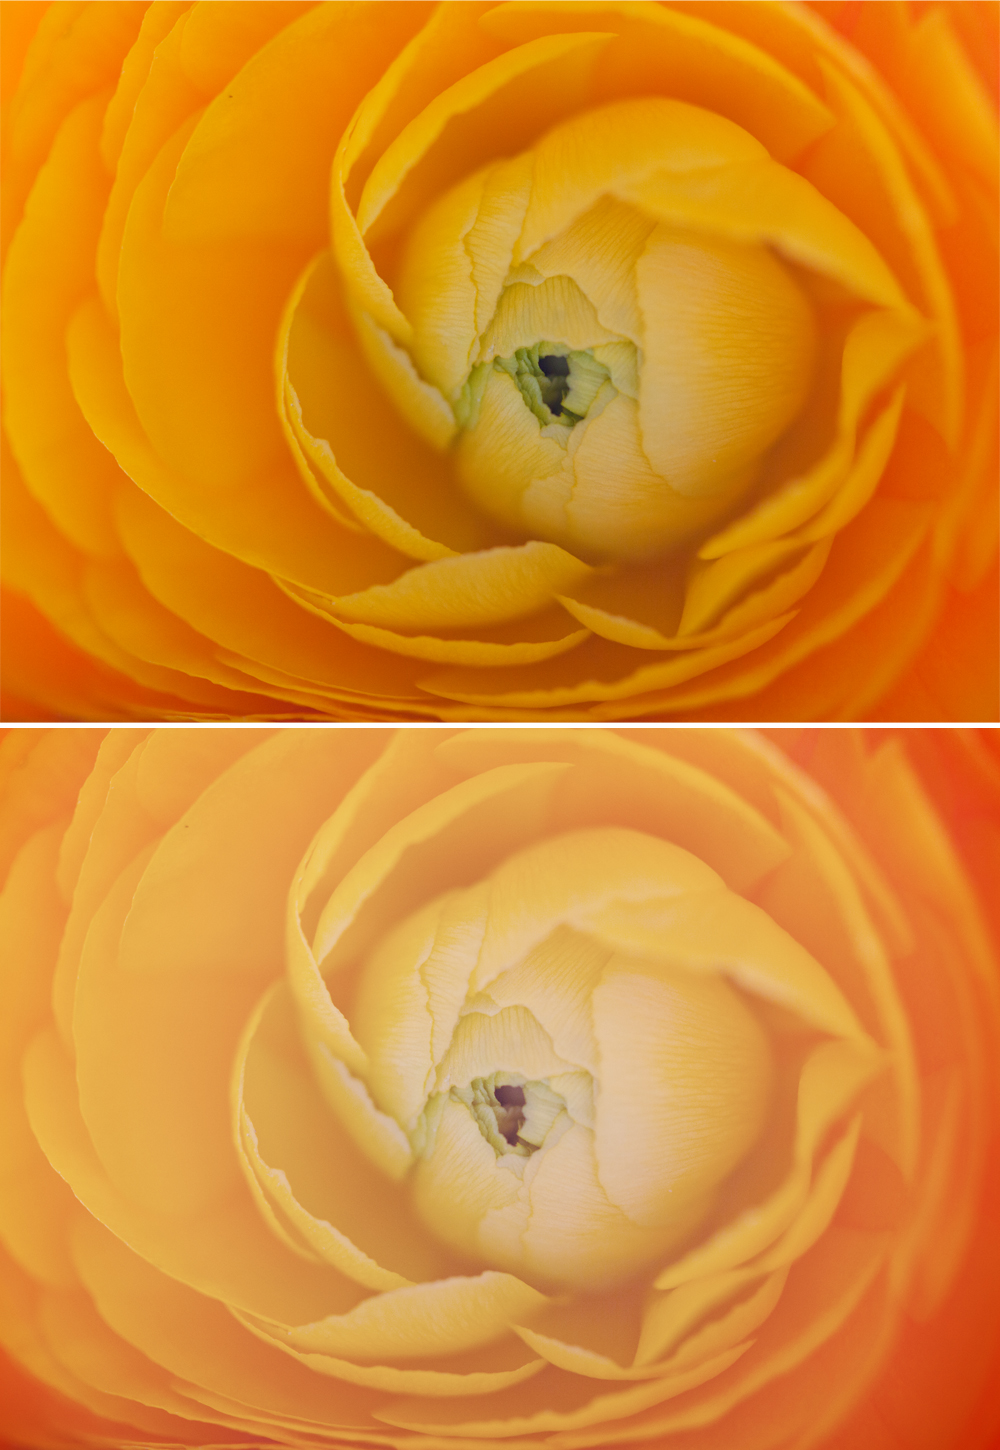
For this tutorial I’ll use a macro of a flower I did, on which I wanted to softly enhance the center. Please keep in mind that my photo has it’s own color and exposure, yours will obviously be different, so layer opacity and angle values (we’ll see it soon…) might need to be adjusted to your own image. This serves only as a reference to make you want to use Gradients in your editing.
First off, I had to make sure I had my color swatch set to white on black, I’ll need it later.
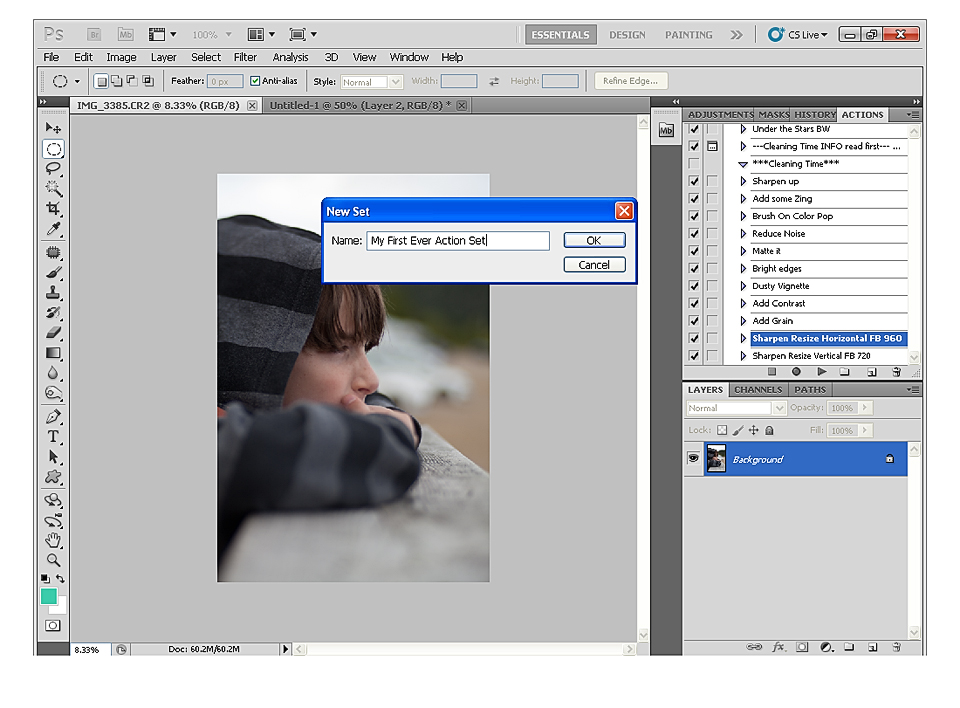
Gradients can be found in two places in PS, on the side bar or under your layers palette, in the adjustment layer menu. I use the ones in the adjustment layer menu the most because, as with every adjustment in the menu, it adds a layer mask for fine tuning and it’s also easily customizable, just click on the gradient icon and you can change the color and every value you had set, so it fits your image. The Gradients you find in the side panel also offer many features, but you need to work on a new layer every time and you need to start again if you don’t like the effect. Though it can be useful because you decide where you want the effect by dragging your mouse on the image, we won’t use it at this time. Feel free to try both methods though, that’s the best way to learn new things!

So, I clicked on the adjustment layers icon and selected Gradient (Not Gradient Map!). I started by adding a little haze so I chose a blue gradient, I made sure I had a Radial Gradient to get the fill light/halo effect and changed the scale to 150%. I checked the Reverse box, to switch the lighter part to the center. I also changed the angle that is by default set to 90 to 150 to fit my flower’s center the best. That’s where you need to play with the values, the scale widens the fill light effect and the angle changes where it’s applied. I then blended that layer in Exclusion mode at 25% to get me some haze.

My next step was adding another Gradient layer, same steps as before, but this time I went with a Sandy colored gradient to add light to my center. Once again a scale of 150% and I kept the 90 degree angle. This layer was then blended in Hard Light mode at 10% (use hard light mode in low opacity otherwise the light will be too harsh!).

My flower was hazy, but now I wanted more light and definition, so I added a white to black gradient (It’s going to pop up by default if your swatch is set to white on black). Scale at 150% angle at 135. This layer will be blended in Overlay mode at 50%.


I could have stopped right there but I wanted more punch to my image. So, I duplicated this last gradient layer and blended it in Screen mode at 10% to light up the lovely bud even more.
Lastly, I added a Levels adjustment layer to darken my edges so the attention was brought even more on the center. All I did is bring in the black slider a little, until I was happy with my edges.

And that’s it for this edit! Writing it seems like a very long edit, but doing it once you get the hang of it will actually take you less than two minutes 🙂
The fun about using gradients is that the possibilities are endless, you can use any color your heart wishes for! As I said, use blue to create haze, use white or grey to create fill light. Use light yellow to mimic sunlight, orange to create sunset color. In this tutorial I used only the Radial gradient, but if you use a linear gradient you can add tone to a landscape, let’s imagine blue on top and green at the bottom… I tell you, possibilities are endless! You can create your own and save them in your gradient editor, just click on the color slider and replace the colors, give your gradient a name and click “NEW”, it will then be added to your palette. You can find many free gradients online also, and to install them, it’s just like actions, open the gradient editor and click on “LOAD” to add new gradients to your palette.


Thanks for this tutorial, Isabelle! I love the way the gradients softened the image!
I am one of those who forgets about gradients 🙂 I haven’t felt like Photoshopping much lately, but I’ve been watching a lot of video tutorials in the past couple of weeks so my head is just bursting with all the new techniques I’ve learned!!! I think I need to start taking notes rather than expecting my self to remember everything 🙂
Loved the article can’t wait to try this out
Thank you so much for this tutorial Isabelle. I really appreciate that you took the time to explain why you chose this or that. The extra details really help, now I will be more willing to experiment with this tool and know what I am doing and how it will affect my photo. Thanks again!!