The basics.
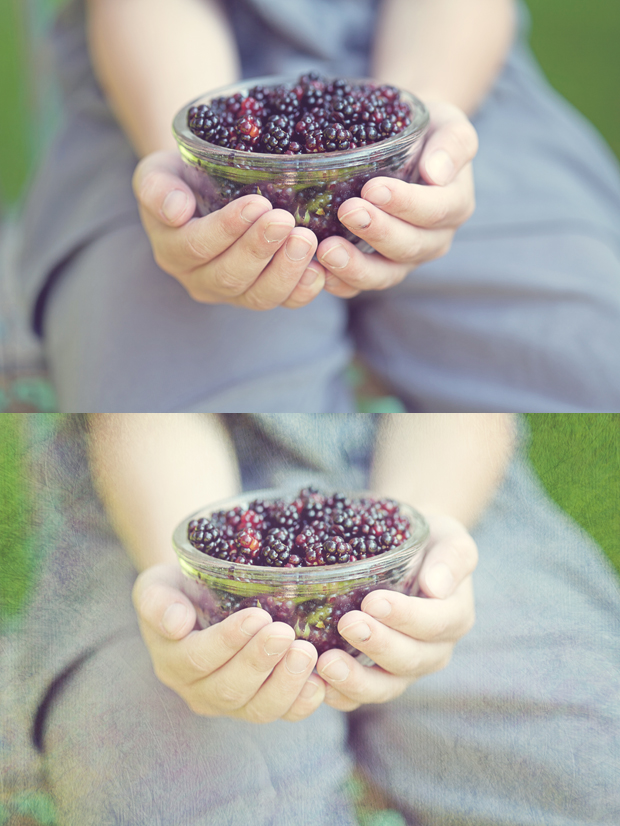
The first thing you have to remember when working with textures, is that the results will vary depending on your photo, the texture you choose, and the blending mode you select. You have to play with them a couple of times to determine the effect you like best.
First step is to open both your photo and the texture you want in an editing software that allows layering (PS, PSE, Gimp. But not Lightroom unless you add a plug-in for it, and that’s a whole other story…).
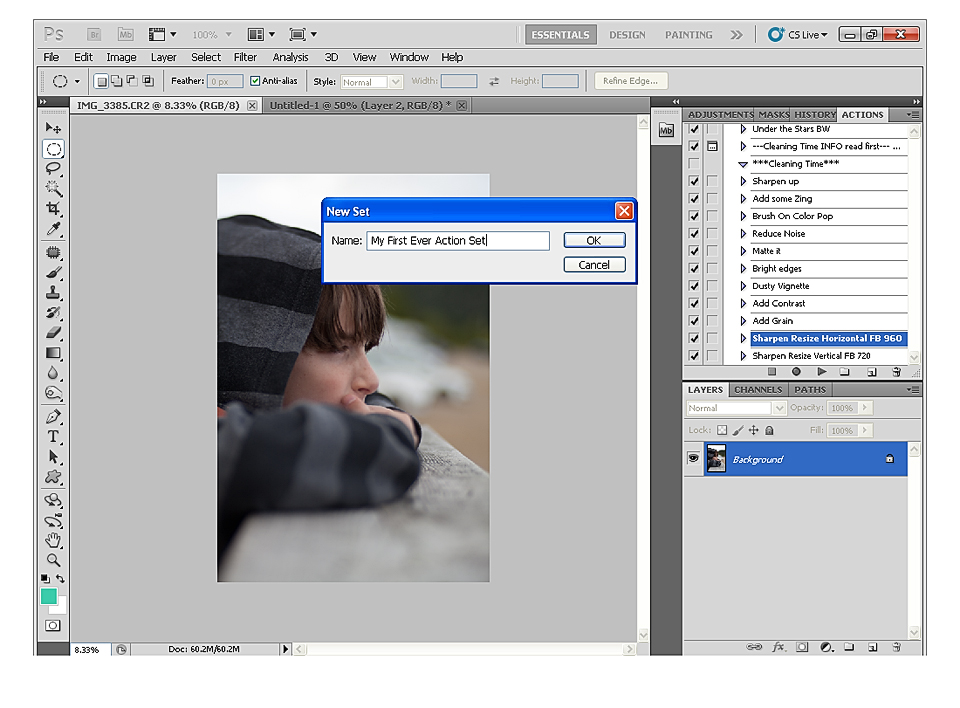
Then you slide the texture over the photo with the move tool or by copy/paste. You will have to adjust it’s size with the Move tool or the Free Transform tool so it fits perfectly your document.
Next you play with different opacity and blending modes on your texture layer.
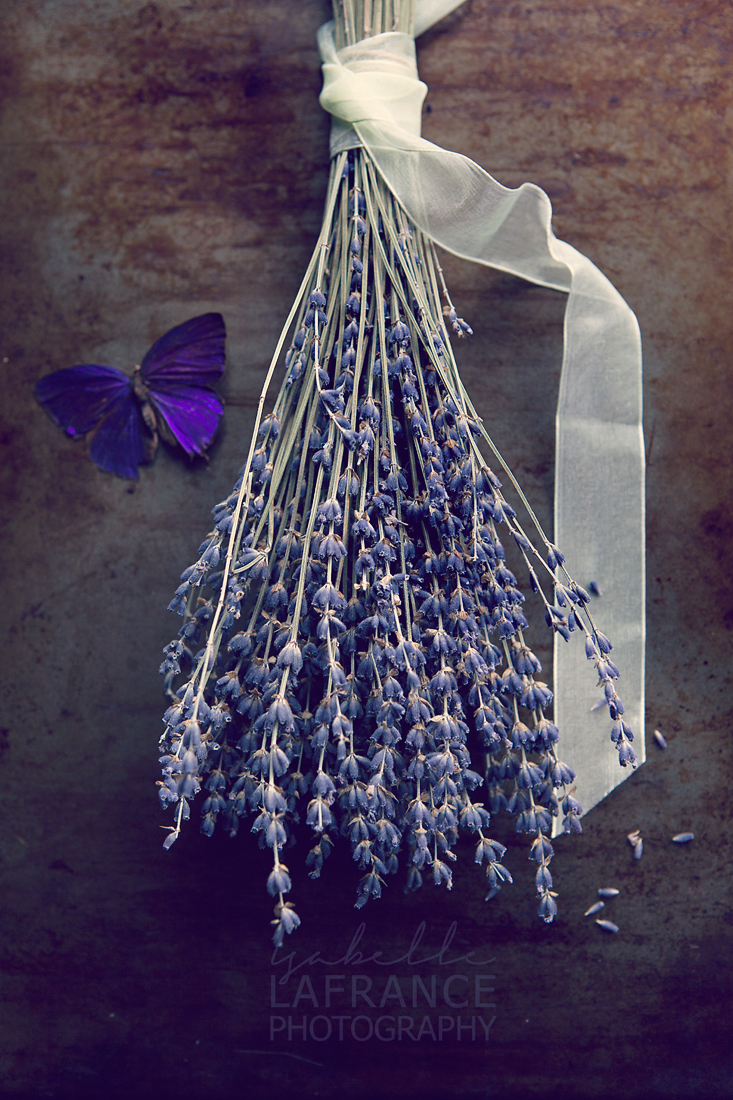
The most commonly used are Soft light & Overlay, sometimes Vivid light.
Note that Darken and Multiply modes will give you a darker result. And that Lighten and Screen modes a brighter result.
An opacity ranging in the 20 to 35% will give you really subtle texture, if you want to lose part of a disturbing background, go higher. From 50 to 80% is a safe opacity, unless the texture has very strong details.
Don’t hesitate to duplicate your texture layer (once you’ve removed it from the unwanted areas if you need to do so, see below…) and vary blending modes. Let’s say you start with one texture layer in Soft Light mode, add one in Multiply mode to get some stronger texture back. Adding extra layers and blending them all at a different opacity will get you that custom look you’re after.
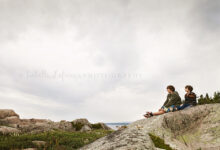
To remove the texture from some areas of your photo, like a face, three easy ways.
The first and the one I recommend is painting over the texture layer with a soft brush with a color you picked from within the texture itself. With your texture in Normal mode and at 100% opacity, use the Dropper tool to pick a color from the texture, a mid-range one, not too light, not too dark. Reduce the opacity of your layer so you can see what is underneath in order to be able to paint over the surface where you want the texture to be smoother. With a soft brush at a reduced opacity, between 35-60%, paint over the face, skin, or other areas where you want the texture to lose it’s details. This method is my fave because it allows you to keep the tint of the texture in the painted areas.
Second method is using the Magnetic Lasso tool. Use it to determine the area. Then run a Gaussian Blur Filter to clear the texture from the selected area. The higher blur value you set, the clearer it gets. So, go for a 250 value. This is method also allows the skin to retain some of the texture tint, so it looks naturally blended. But it’s a longer process than simply painting.
The third is by creating a layer mask. Remember that where it’s white the texture shows, where it’s black it doesn’t show. Paint with a black brush over the layer mask and the texture will be erased from the areas where you painted. You can adjust the opacity of the brush to fade the texture along the edges of the area.
The best way to use textures is to get to know them by playing with them. Some might be brighter some darker, that’s when your knowledge of blending modes is useful. Everyone has a different taste, so whether you like strongly textured images or lightly enhanced ones, the secret is how you will blend them!
Have fun working with your textures!


Leave a Comment