Happy New Year everyone! Wishing you all a wonderful new year, may your dreams and hopes come true, and may your projects succeed.
For this first post of 2012 I’d like to share a quick tutorial for Photoshop CS users.
This tutorial will be about a quick and fun way to edit your images by using the Match Color adjustment feature in Photoshop CS (I haven’t found a way to make the exact same thing in Elements so far, but I only have PSE7. So if you have a newer version of PSE and the feature is available, let us know!).
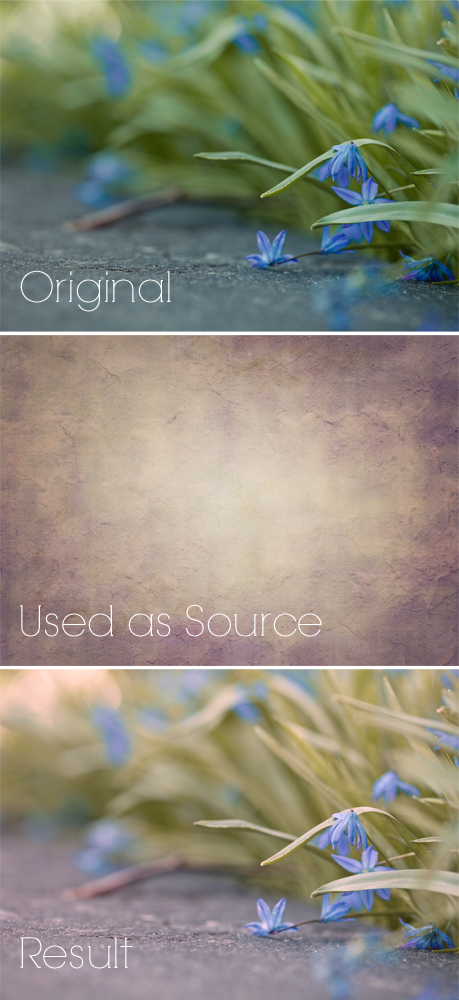
Match Color uses a photo as a source to change the color of the photo you are working on. You can use any photo, a classic painting, one of your photos that has tones you especially like, or whatever your creative mind decides.
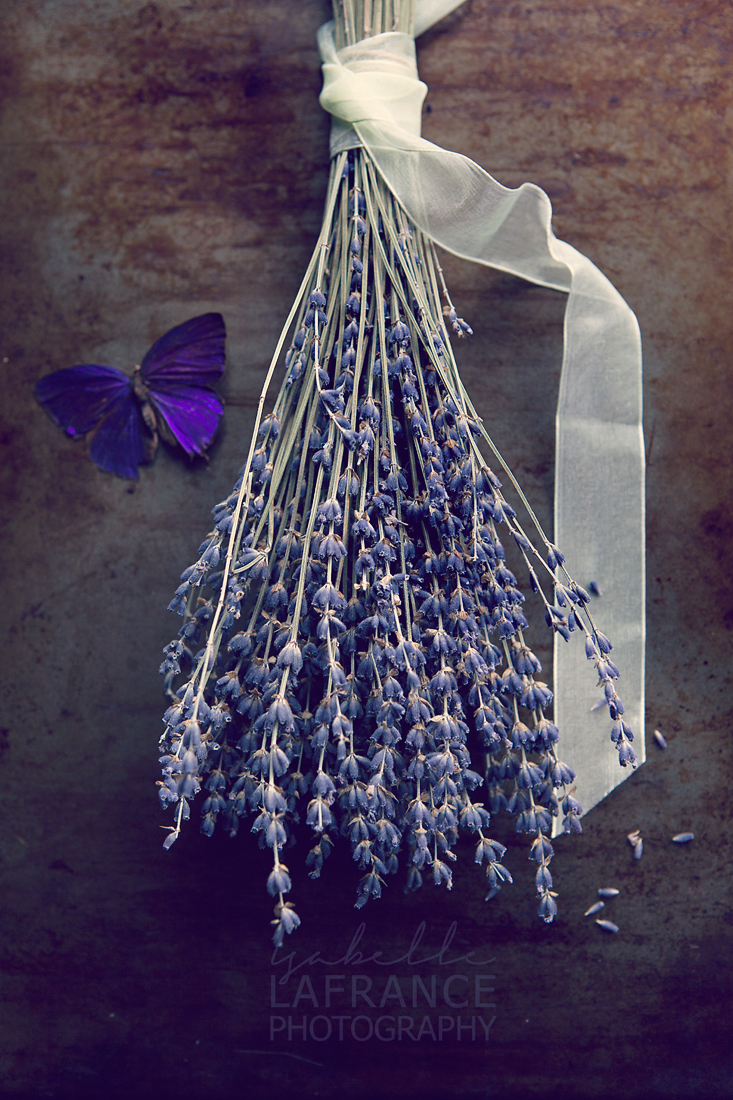
I used a texture of mine, from the Renaissance set as a source for the tones and then applied it to my image.
Here’s how we do: Open both images in Photoshop, the image you want to work on (Target) and the image you want to borrow the tones from (Source). Make sure your Target photo is your active selection. I like to duplicate my background and work on that layer, so if I don’t like the results, I can easily discard it. I can also lower the opacity or change the blending mode of the duplicated layer, which I can’t do if I work on the Background layer.
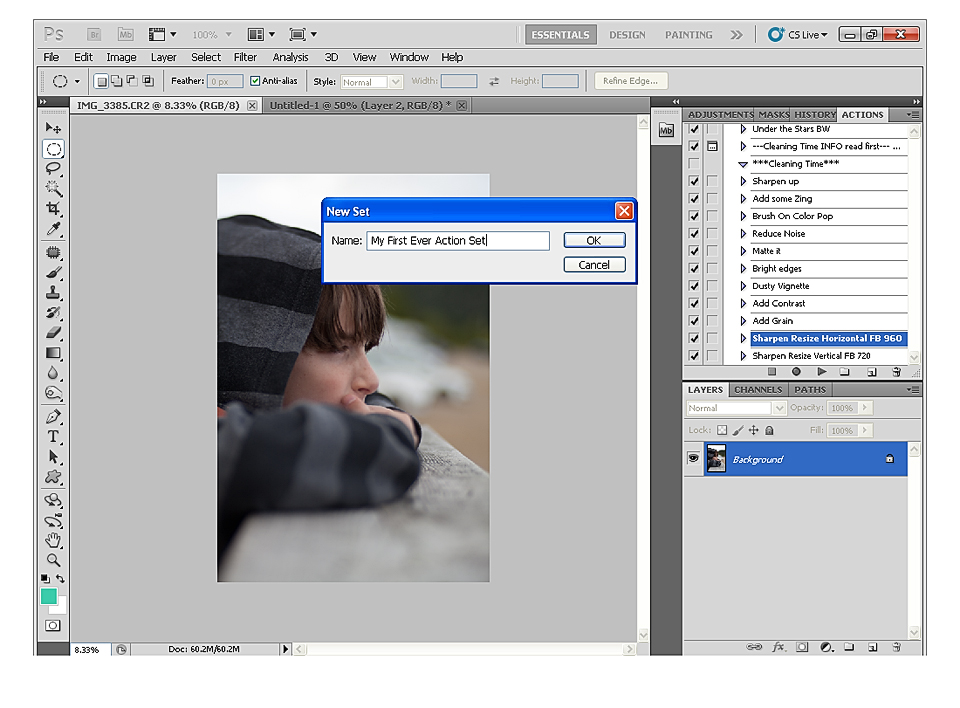
So, with your Target photo active, and your duplicated layer active as well, go to Image > Adjustments > Match Color. A dialog box will open and you will work from there. You will see three sliders, that’s what you will use to fine tune the results.

So, you see in this dialog box, my Target image name at the top, and the three sliders. At the bottom, that’s where you select your Source. Just click on the box for the Source image and you will see the image you opened for this purpose listed there. The Layer box, is for selecting a layer if your source is a .psd file. Just play with the sliders until you like what you see, then click ok. If you duplicated your Background layer, changes will be made on that layer and you can now adjust the opacity or change the blending mode.
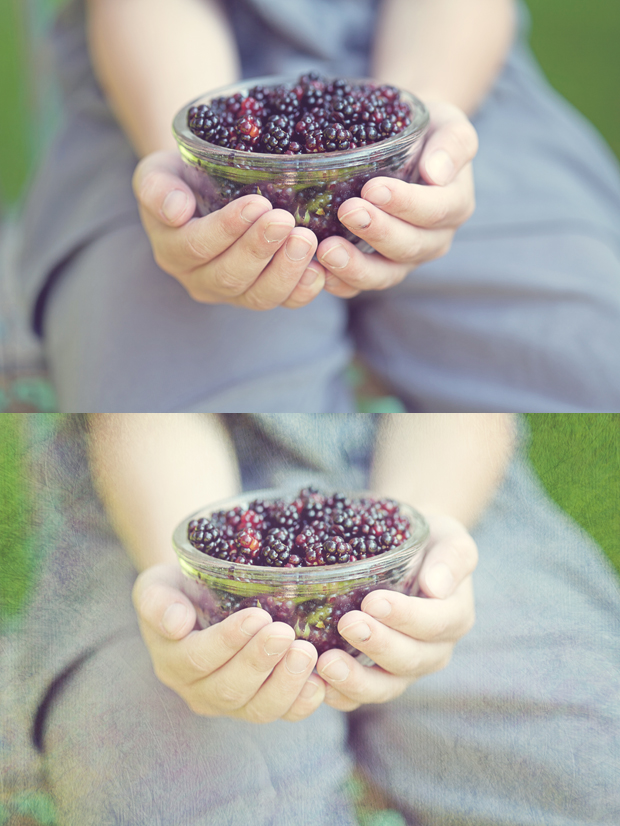
This feature takes a little getting used to though, my first attempts were made with darker images as the Source and the results weren’t as soft as I wanted them to be. But it’s still a fun feature to play with once in a while. Here’s my result using my texture as a Source and leaving the duplicated layer in Normal mode at 100%.
I hope you’ll try this fun feature and, as usual, feel free to share your results on the Facebook page.


wow thank you so much for sharing this with us. I will be giving this a go for sure as I tend to fiddle and play in photoshop to achieve results like this but this is another option and love the fact that you’ve shared it with us. thank you so much. chris
Thank you, Isabelle for sharing this wonderful tutorial… would give it a try soon!
Oh I can’t wait to try this. So sweet of you to share.