On this day and age, where everything seems so readily available, images, graphics and digital content are often lifted from the web without people ever looking back on their actions and wondering, “Do I have the right to use this content?”. It seems so easy, even elementary schools teach kids to right-click and add photos to their Powerpoint documents. Without ever mentioning to these kids that the content belongs to someone and educating them about copyright.
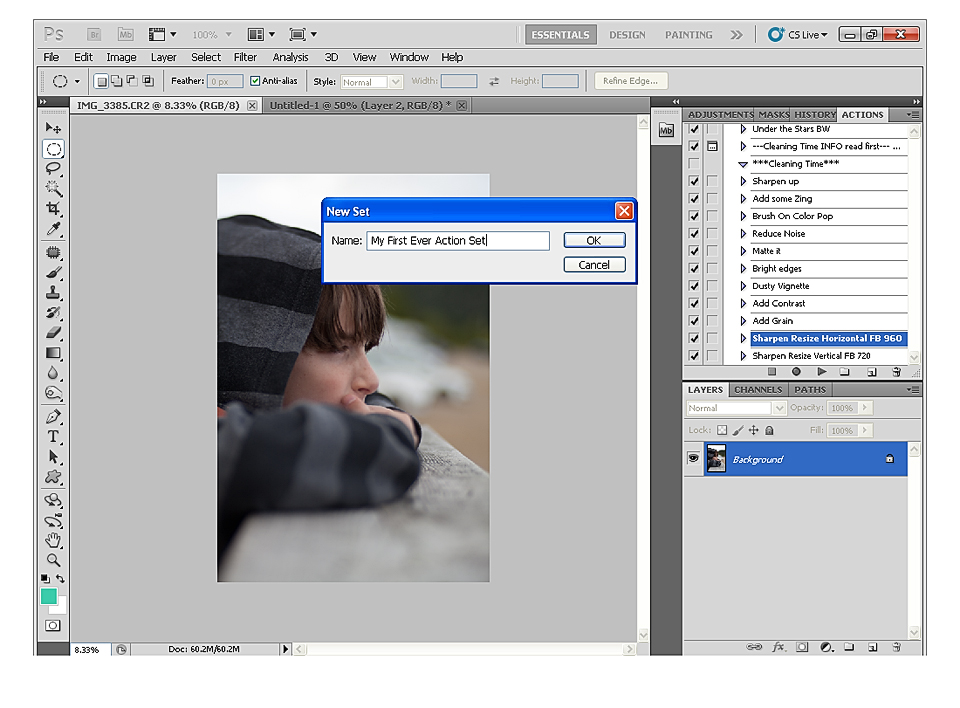
Photoshop actions are enjoyed by many, and are useful in so many ways. Whether you want to speed up your workflow, or creatively edit photos, they do come in handy. Press the Play button and there it goes! A little miracle of it’s own! All the layers are there, all you need is adjust a bit, here and there.
Many actions are available for you to choose (Psst! Right sidebar, easy peasy!), but sometimes, you have that recipe you like, one you created and the one that works for your editing style the best. How do you record it in order to save it for future use, and also, to save some time? I’ll walk you through it. We’ll start by a step-by-step guide on how to actually record the actions. You have that amazing tool at your fingertips, it’s time you put it to good use! Then, I’ll add my tips on how to build your own creative actions. Sounds good?
The basics.
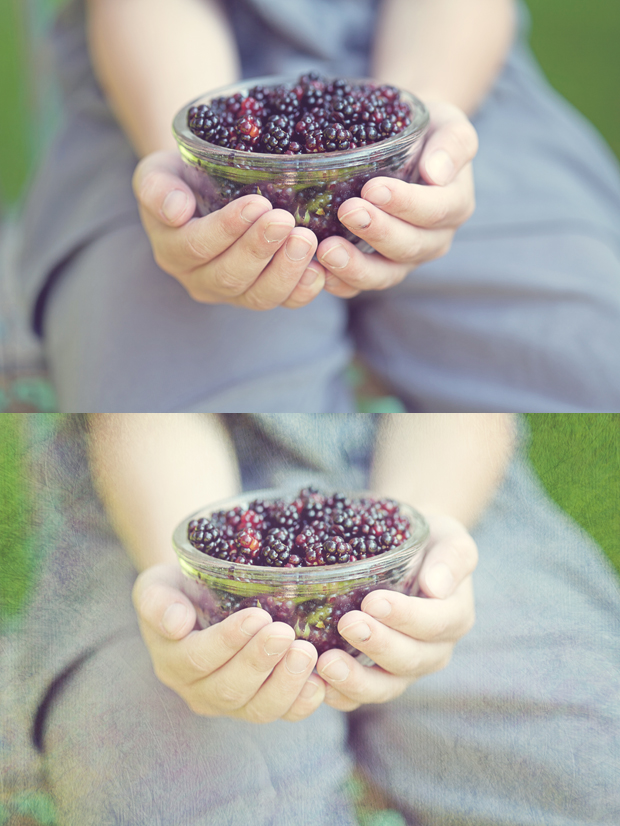
The first thing you have to remember when working with textures, is that the results will vary depending on your photo, the texture you choose, and the blending mode you select. You have to play with them a couple of times to determine the effect you like best.
First step is to open both your photo and the texture you want in an editing software that allows layering (PS, PSE, Gimp. But not Lightroom unless you add a plug-in for it, and that’s a whole other story…).
Then you slide the texture over the photo with the move tool or by copy/paste. You will have to adjust it’s size with the Move tool or the Free Transform tool so it fits perfectly your document.
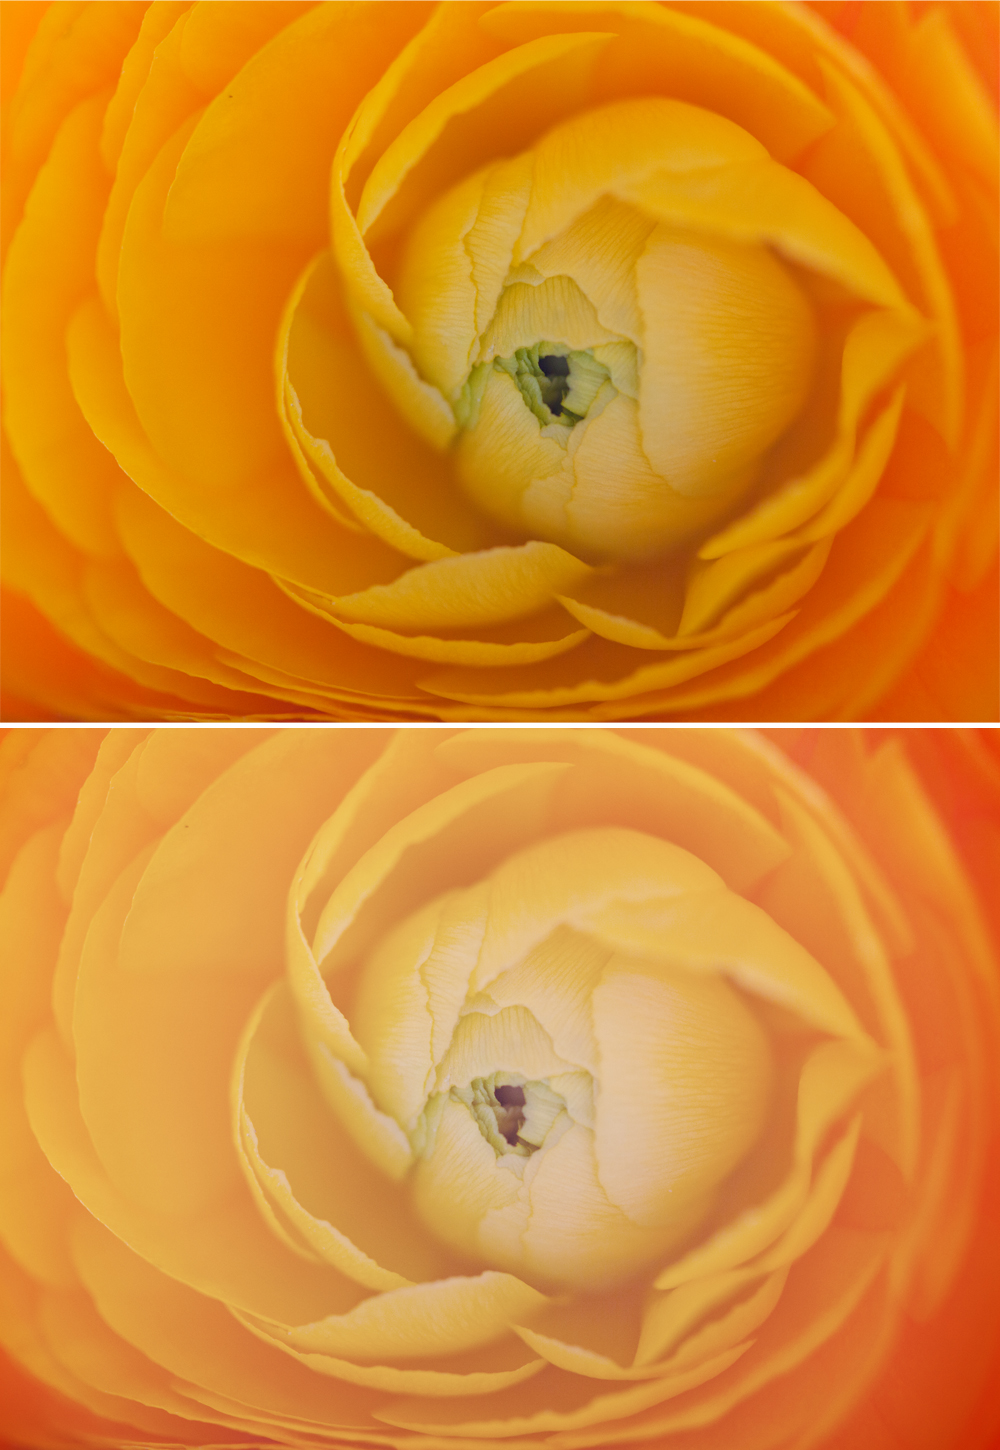
I have to admit I love gradients in PS (or PSE). I think it’s one of the neglected tools in your panel. With gradients you can easily add fill light, contrast, haze, vignette, etc. It’s easy to use, but you have to select the right gradient and the right blending modes to get the most out of them.
For this tutorial I’ll use a macro of a flower I did, on which I wanted to softly enhance the center. Please keep in mind that my photo has it’s own color and exposure, yours will obviously be different, so layer opacity and angle values (we’ll see it soon…) might need to be adjusted to your own image. This serves only as a reference to make you want to use Gradients in your editing.
About Me

Dreamer. Wanderer. Artist.
Barefoot lady who talks to birds. Who loves the wind and her morning coffee.
Who sings out loud and still believes in magic.
Perfectly imperfect, and that suits me just fine.
Follow me on Facebook


