
Here’s the tutorial for this underexposed image. I could have only corrected the exposure, BUT if you know me, I could not leave it at that. I needed to make something more, add my artsy touch to it. So today I’m sharing this editing recipe, complete steps whether you use PS or PSE, you’ll get the same results.
Here’s what I started with:

Ouch! You say? Yes, it happens to me all the time, while I check my settings, I always end up wanting to keep the images I took while he’s not aware of it.
So let’s get started. Since I shoot in RAW, I opened first my image in ACR. I’ll give you steps if you’re not using ACR, don’t worry. I first adjusted the recovery slider a bit, as the sky was close to be overexposed. Then added fill light for the face and body, around 35. I upped the brightness to 60 and contrast to 40. I always add contrast a bit to my RAW files, I find they have more zap this way. You don’t have to, it won’t change much to your end result.
After ACR here’s what my image looked like. I could have gone further or left the image as it was, BUT I wanted my artsy edit!
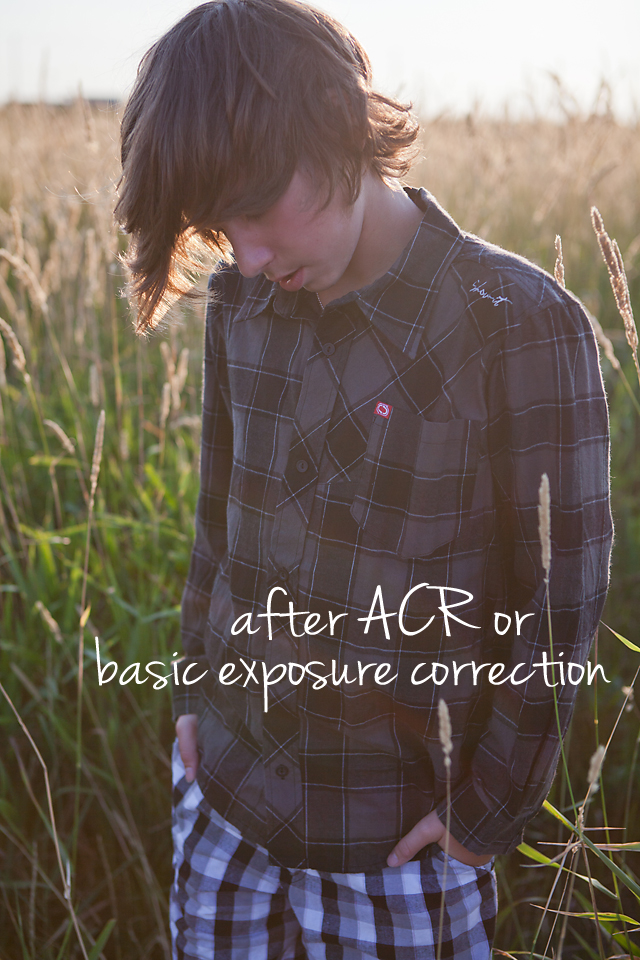
If you are a PSE user or do not use ACR, here’s some steps you can take that will give the same results.
Fist start with a Levels adjustment layer. Move the Black point to the right a little, bring up the midpoint and the white point to the left. Drag your sliders for the output and input values as well. You’ll see my own settings, but your image will be different than mine, so stop when you feel you have corrected enough. After that add a Brightness and Contrast adjustment layer. I went for 30 for Brightness and 20 for Contrast, that suited my image. Once again, it has to fit YOUR image.

My next step was adding a texture to warm it up and jazz it up. I used Impasto from my Impressions set.

If you’re new to using textures, the next steps will be very helpful to you.
Place, drag or copy and paste your texture on top of your image. Stretch it if you need to so it covers the whole photo. BEFORE blending it, we will remove texture from the face and body area. Your texture should be on Normal mode at 100% opacity. Use the dropper tool and select a mid-range color from the texture. Reduce the texture opacity so you can see your subject and where you are going to paint. Select a soft brush at around 50% opacity and brush over the face, hands, whatever applies to your image. I usually reduce my brush opacity around 20% and paint on the edges of where I erased the texture so the “erasing” looks naturally blended.


See how it looks once painted over? No gritty texture over the face, but the texture’s tint remains. Now we’re off to blending the texture. I first blended it in Overlay at 50% to add depth. Then I duplicated the texture layer and blended in Screen at 25%, to give the hazy look. I duplicated the texture again and went for Multiply at 25% to add intensity. Once the painting is done, playing with the blending modes and opacity is so easy.

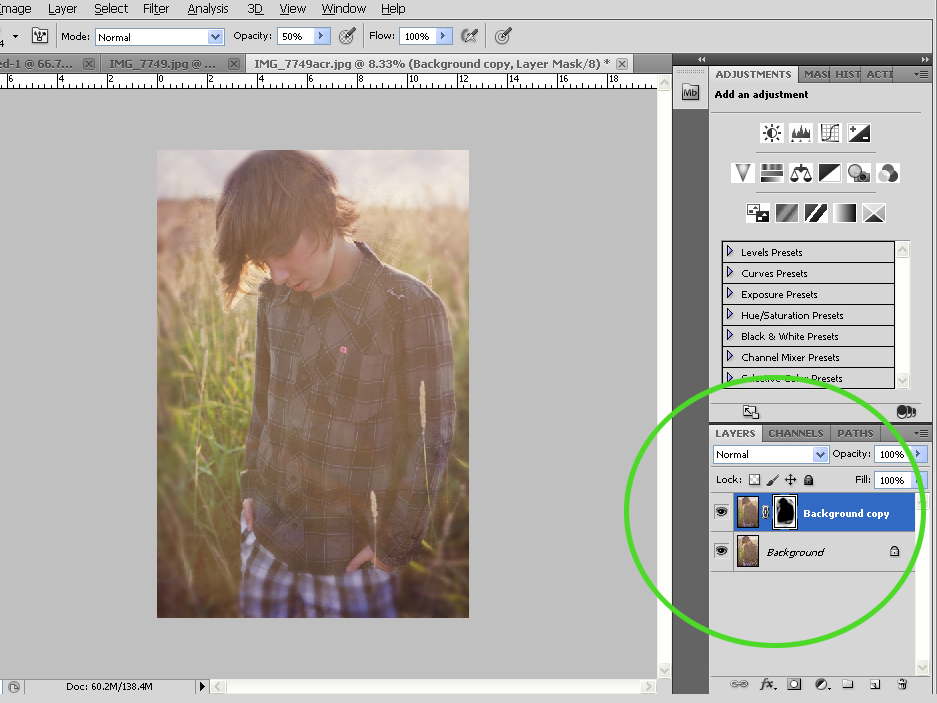
We still need to work on the image. Of course you can always stop there if you like your image. I decided to go further and add a gaussian blur around the edges to give it more impact. Merge your layers so you are left with only a background layer. Duplicate this background layer.
With your duplicated layer selected, go to Filter in the top menu, select Gaussian Blur and run at a radius of 28. Add a layer mask and make sure it’s filled with black. Now the blur isn’t showing. We’re going to paint it back in. Make sure your layer mask is selected. Use a soft white brush and paint on the mask. Start at 100% opacity and paint in an elliptical motion around the edges. don’t go too close to your subject. Reduce your brush opacity to 50-60% and get a bit closer, you won’t lose as much detail and the results will be nice.
Last step for this edit, I added a vignette. I could have used an action, but I decided to make it myself so I could show you how to do it yourself. Select the Gradient adjustment layer. Choose either the Black to White gradient or the Neutral Density gradient. Select a Radial gradient, and up the scale to 150%. The darkest tone should be on the edges! If not, tick the Reverse box. Blend this layer in Soft Light mode at around 45% and you’re done!

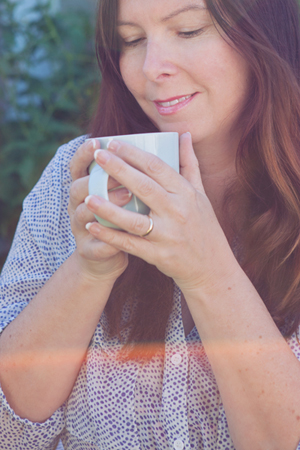
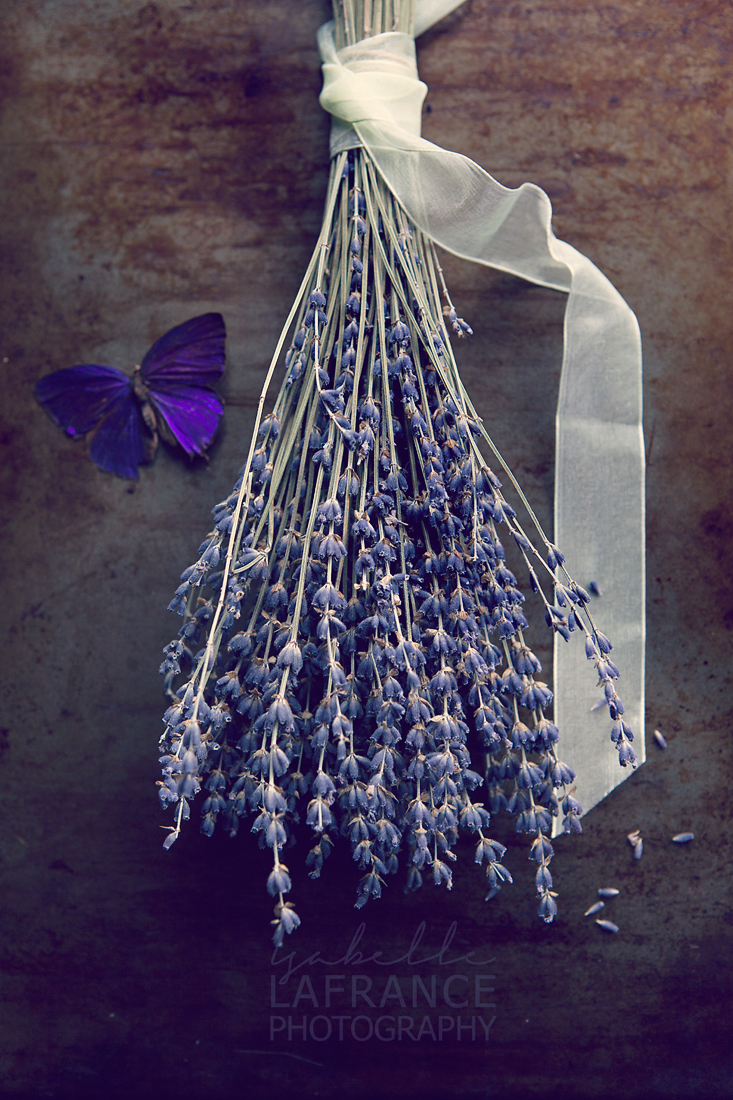
Writing it all step by step makes it look longer than it actually is, I can guarantee you that. Once you’ve done it, it goes quite fast. I’m sure the PS or PSE beginners will find many useful steps, the more seasoned users will enjoy a new challenge, if not, just a new perspective on doing things. Final result is posted below, have fun editing!


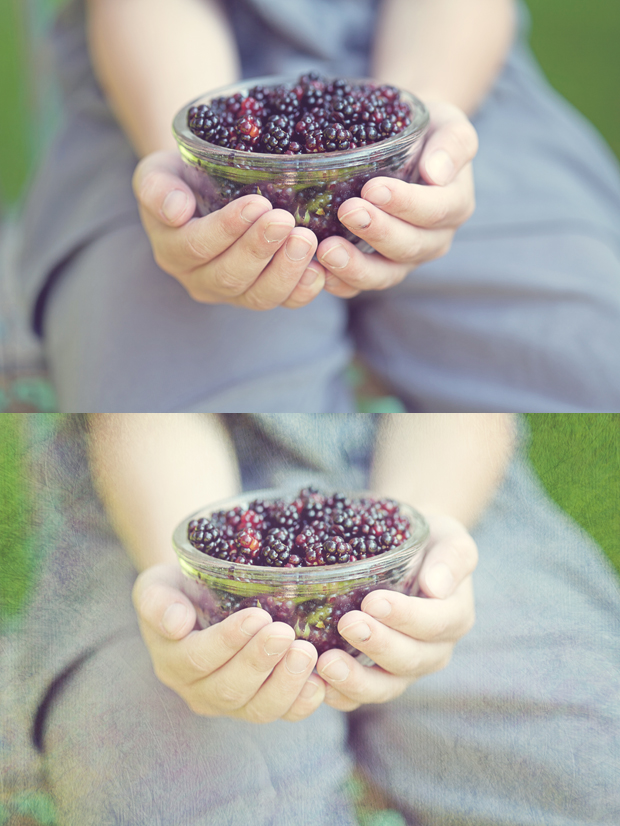



Thanks for this. What an awesome transformation!