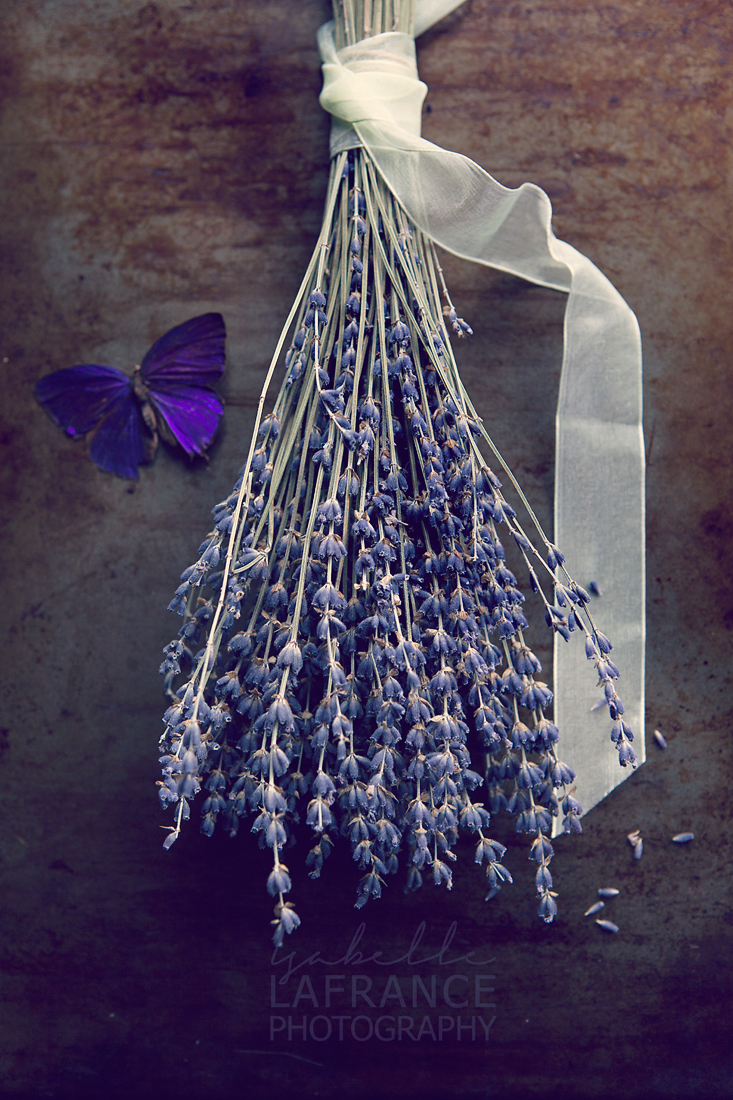
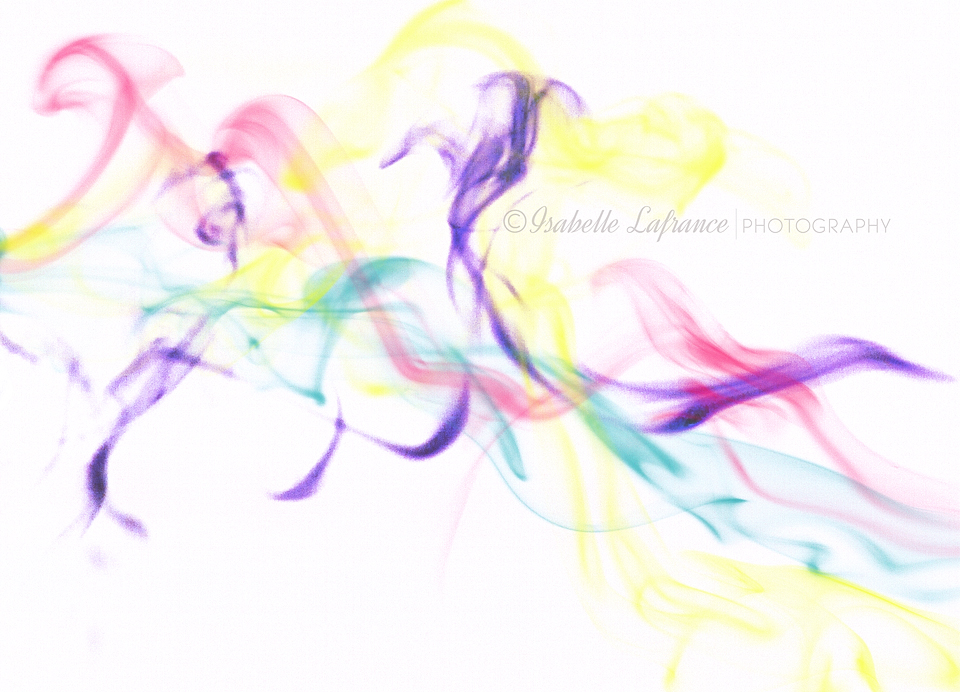
With the starting of this new year, as I’ve already mentioned, I’ve been taking more and more photos with my mobile phone. I’m loving the spontaneity it allows and the quick editing and sharing abilities. No tedious uploading of files, and converting raw, then saving high res, plus another low res copy, and the extra low res watermarked one… It’s so simple. Since taking that Time Caspsules class last year, I’ve been looking for ways to capture life as it is, in a less polished and formal way, and my phone allows me to do just that. I’ve also been using many apps. Maybe too many. And I thought I’d list and post examples of work created with some of my favorite applications.
Fine art, still life, and even food photography is often discredited by others in the industry. They tend to believe it’s easy, and that these photographs don’t require a lot of time, planning or attention. Well, I tend to disagree.
Take this cherry photo, how much time did I spend on it?
I’ve done smoke photography in the past, but never went further than capturing it and converting one image to a decent smoke trail. This time around I wanted to combine different smoke trails in one image. I loved the result so I decided to share the tutorial with you guys!
What you’ll need:
Camera (with pop-up flash activated or a speedlite to capture the elusive smoke)
Incense sticks
A large room with a black background, or a black studio box kit if you plan on doing it inside. I did it outside, at night, the smell of the dollar store bought incense was too strong to have it inside. If you plan on shooting outside, choose a night without wind!
I was inspired this week by some posts I had seen on Facebook about bubbly photography. I read the tutorial and decided to add my own twist to it. Not that the tutorial wasn’t clear enough, just that I had another idea I wanted to try and since it worked, well I’m sharing now my own version.
What you’ll need is pretty simple. A clear glass container, preferably with flat surfaces, like a square vase, I used an old fish bowl. You will also need sparkling water, any regular carbonated water will do. Make sure it’s not a sugared one, it will get sticky. And a lens that allows you to get close enough.
Catchlights make any portrait come alive, with just that glitter of light in the eyes, your portrait takes a whole new dimension. But the tricky question is, how to get them?
Well, if you’re in studio and have control over your lighting, then, that’s easier. Take a test shot, position your umbrellas or reflectors so the catchlights look natural, pros suggest a catchlight placed at 10 or 2 o’clock (imagine the eye is a clock). A catch light at the bottom of the eye is not as appealing.
About Me
Dreamer. Wanderer. Artist.
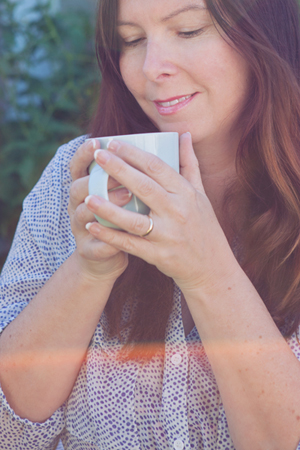
Barefoot lady who talks to birds. Who loves the wind and her morning coffee.
Who sings out loud and still believes in magic.
Perfectly imperfect, and that suits me just fine.
Follow me on Facebook
